
Connect Klaviyo from Email Donut
Connect a Klaviyo account to an Email Donut brand, approve purpose-limited access, and confirm the first data sync.
Email Donut connects to Klaviyo at the brand level. Each Email Donut brand can be connected to the matching Klaviyo account so reports, planning tools, and generated content use the correct business context.
Before you start
- Sign in to Email Donut and create or select the brand you want to connect.
- Make sure you know which Klaviyo account belongs to that brand.
- Use a Klaviyo account with permission to approve an OAuth application, or be ready to send the approval link to the account owner.
- If this brand already has an older Email Donut authorization, plan to reconnect it so the account receives the current purpose-limited permission set.
1. Open the Klaviyo settings
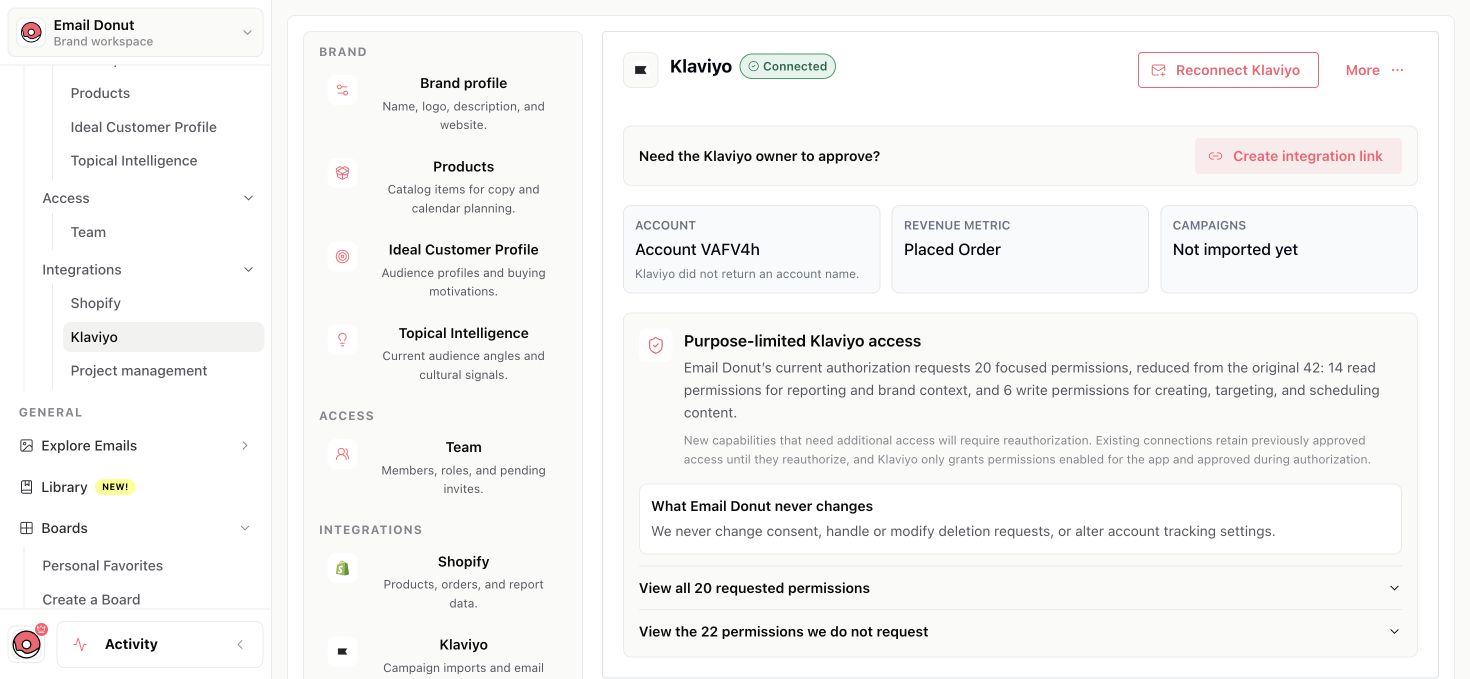
In the Email Donut sidebar, open Settings. Under Integrations, choose Klaviyo. The page shows the connection status, connected account, revenue metric, campaign count, and the permissions Email Donut requests.
2. Start the connection
Select Connect Klaviyo. If an account is already connected and needs updated permissions, select Reconnect Klaviyo instead.
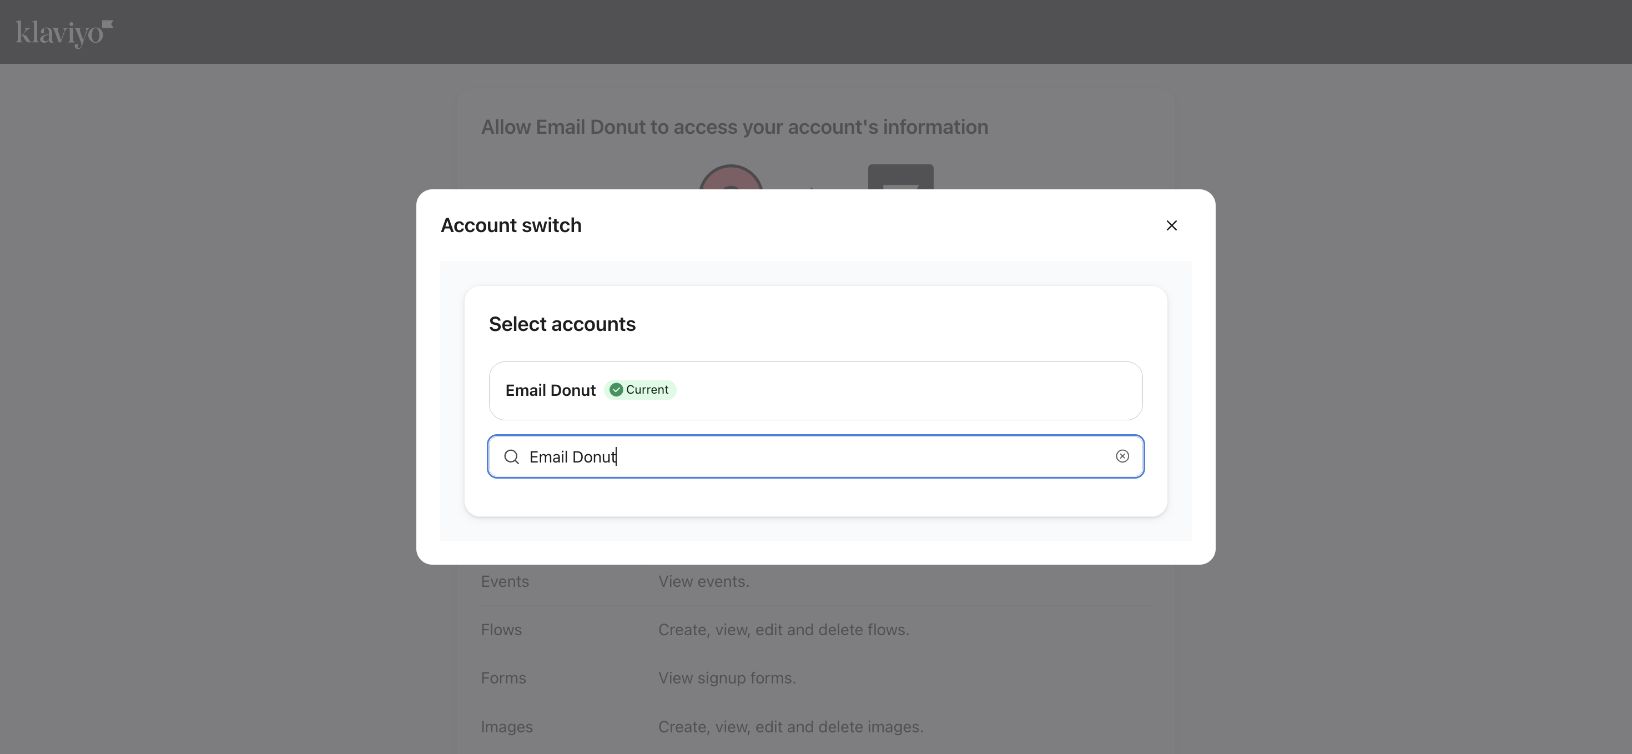
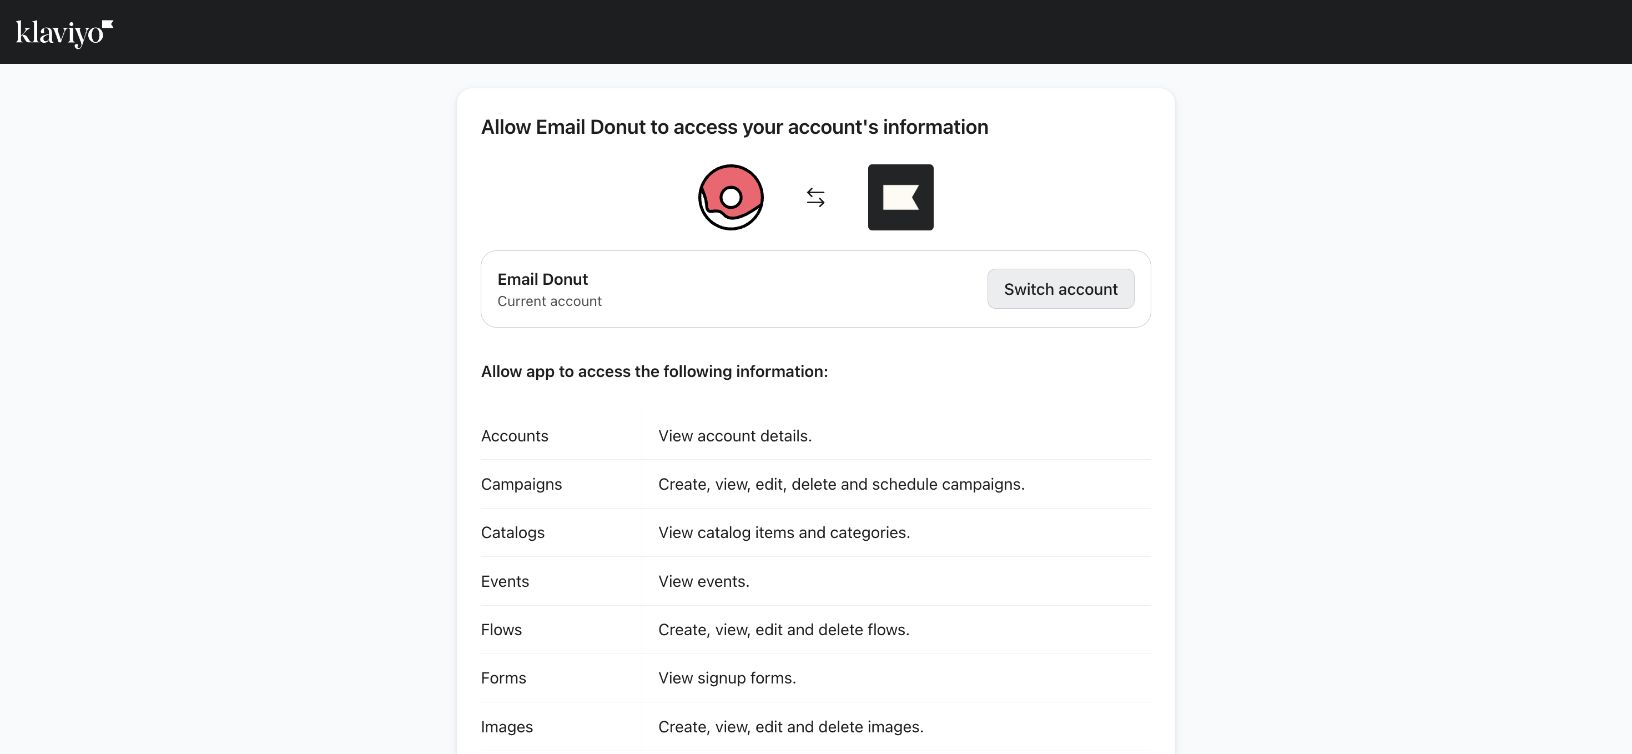
Email Donut sends you to Klaviyo's secure authorization screen. Sign in to the Klaviyo account you want to use, review the requested access, and approve the connection. Email Donut never receives your Klaviyo password.
The current authorization asks for 20 focused permissions: 14 read permissions and 6 write permissions. These permissions support reporting, analysis, brand context, content creation, targeting, and scheduling. Email Donut does not request access to modify profiles, consent, privacy requests, tracking settings, coupons, or reviews.
3. Ask the Klaviyo owner to approve, if needed
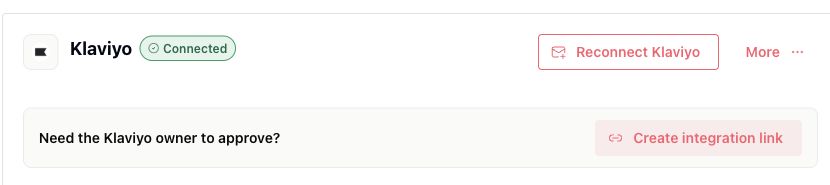
If you can manage the Email Donut brand but cannot approve apps in Klaviyo, use Need the Klaviyo owner to approve? on the same settings page. Copy the generated link and send it to the Klaviyo account owner.
The owner can review the brand and requested permissions, choose Allow access, and complete authorization in Klaviyo. They do not need access to your Email Donut workspace to use the approval link.
4. Return to Email Donut
After Klaviyo approves the connection, Email Donut returns to the brand workspace and begins setup. The Klaviyo card will show Connecting while Email Donut confirms the account, identifies the available metrics, and starts importing campaign information.
Setup continues in the background. A full order-event history can take longer to import; reports can begin using the data that is already available while older history is still syncing.
5. Confirm the connection
The Klaviyo settings card should show:
- Connected as the current status.
- The expected Klaviyo account name and account ID.
- A revenue metric selected or being automatically detected.
- A campaign count after the first campaign sync completes.
Open Reports and select Email Campaigns to confirm that campaign performance is available. If the page says that Klaviyo data is still preparing, leave the import running and return later.
Reconnecting an existing installation
Klaviyo installations keep the permissions they were originally granted until they reauthorize. Select Reconnect Klaviyo whenever Email Donut asks for updated access or the saved authorization is no longer valid.
Klaviyo grants only the intersection of the permissions requested by Email Donut and the permissions enabled for the app in Klaviyo. If a required feature remains unavailable after reconnecting, an app administrator may need to confirm the Email Donut configuration in Klaviyo before you try again.
Troubleshooting
- Wrong Klaviyo account: remove the integration from the More menu, then connect again and select the correct account.
- Reconnect needed: select Reconnect Klaviyo and approve the current permissions.
- Revenue metric not found: wait for setup to finish, then review the Klaviyo card for a configuration prompt.
- Data still syncing: keep the brand connected. Initial historical imports can continue in the background.
- Owner approval link does not work: create a new link from the brand's Klaviyo settings and send the new link to the owner.