
Connect Email Donut from Klaviyo
Start in Klaviyo, install Email Donut, choose the correct accounts, approve the requested access, and confirm the connection.
Use this installation path when you are already working in Klaviyo. The connection still belongs to one Email Donut brand, so confirm both the Klaviyo account and the Email Donut brand before you approve access.
Before you start
- Sign in to the Klaviyo account you want to connect.
- Make sure your Klaviyo role can install and authorize applications.
- Have an Email Donut account with the destination brand already created.
- If you manage more than one account or brand, note the exact pair you intend to connect.
1. Find Email Donut in Klaviyo
Open Integrations from the Klaviyo sidebar. For a new installation, choose Explore apps, search for Email Donut, and open the Email Donut listing. If Email Donut is already installed, it appears under My apps with its current status.
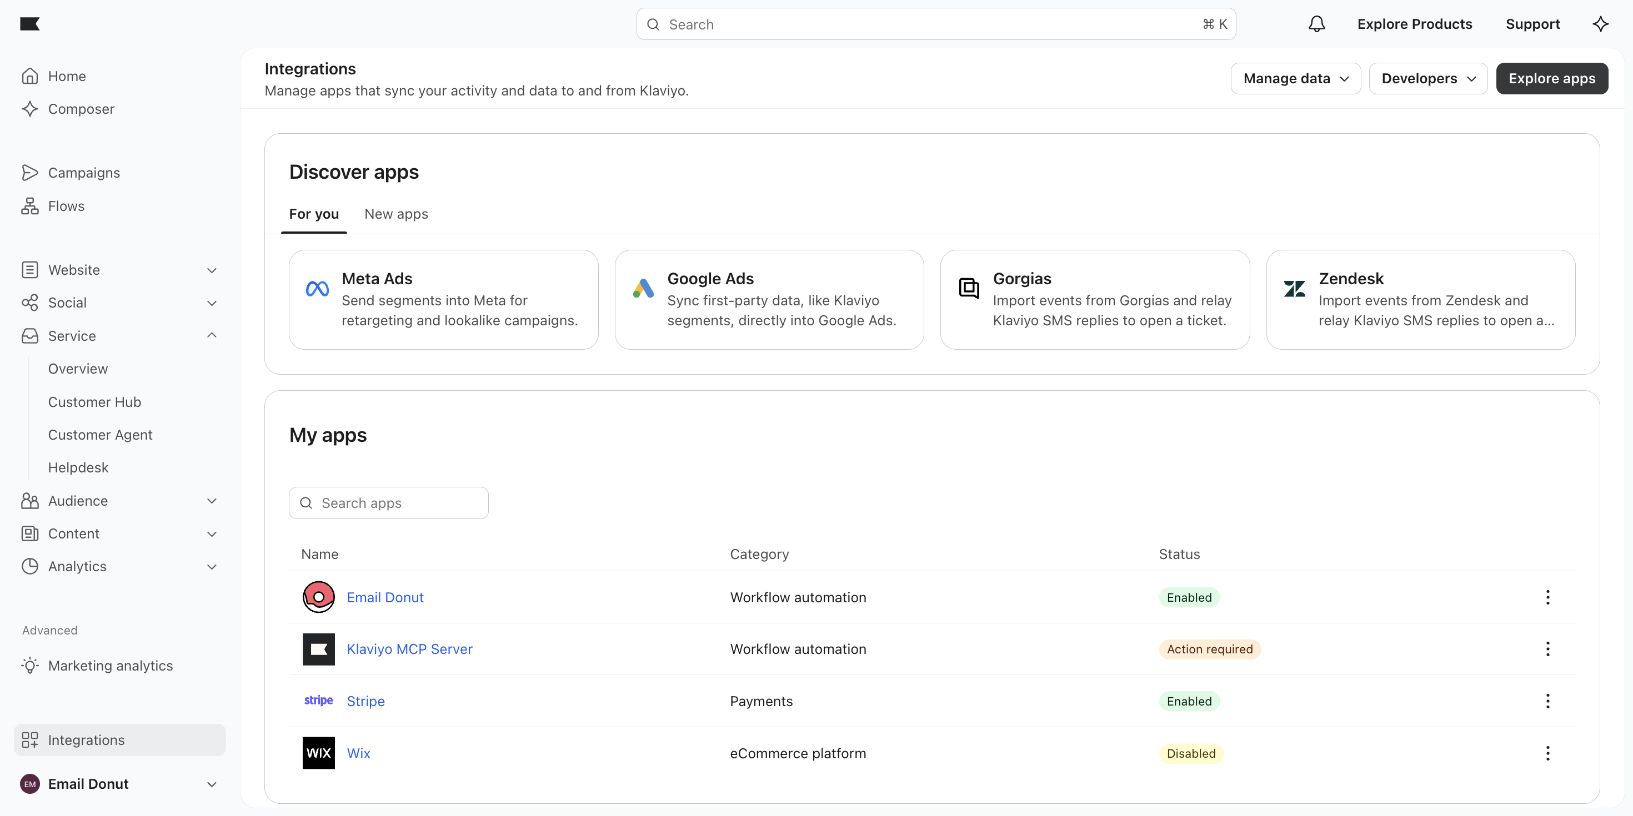
Choose Install or Connect on the Email Donut listing. Klaviyo opens Email Donut so you can sign in and select the brand that should receive this connection. If your Email Donut account contains only one brand, Email Donut may select it automatically and return you directly to Klaviyo.
2. Continue through the review screen
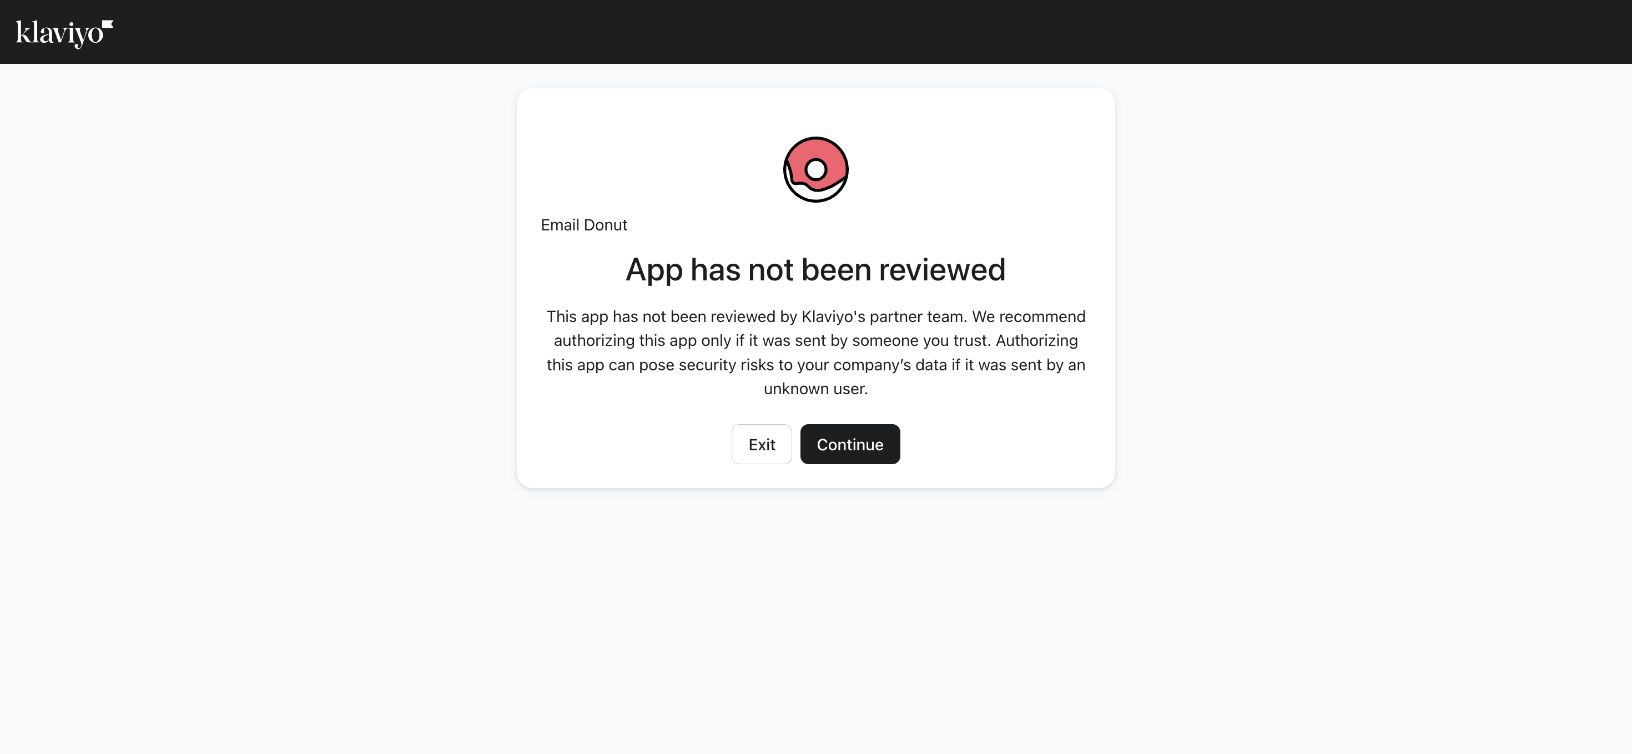
During pre-release testing, Klaviyo may explain that the app has not yet been reviewed. Continue only when you received the test installation from Email Donut or Klaviyo's review team. This warning should not appear after the public app has been verified.
3. Confirm the Klaviyo account
Klaviyo asks which account should install Email Donut. Select the account that matches the Email Donut brand you chose. Use Switch account if the wrong account is shown.
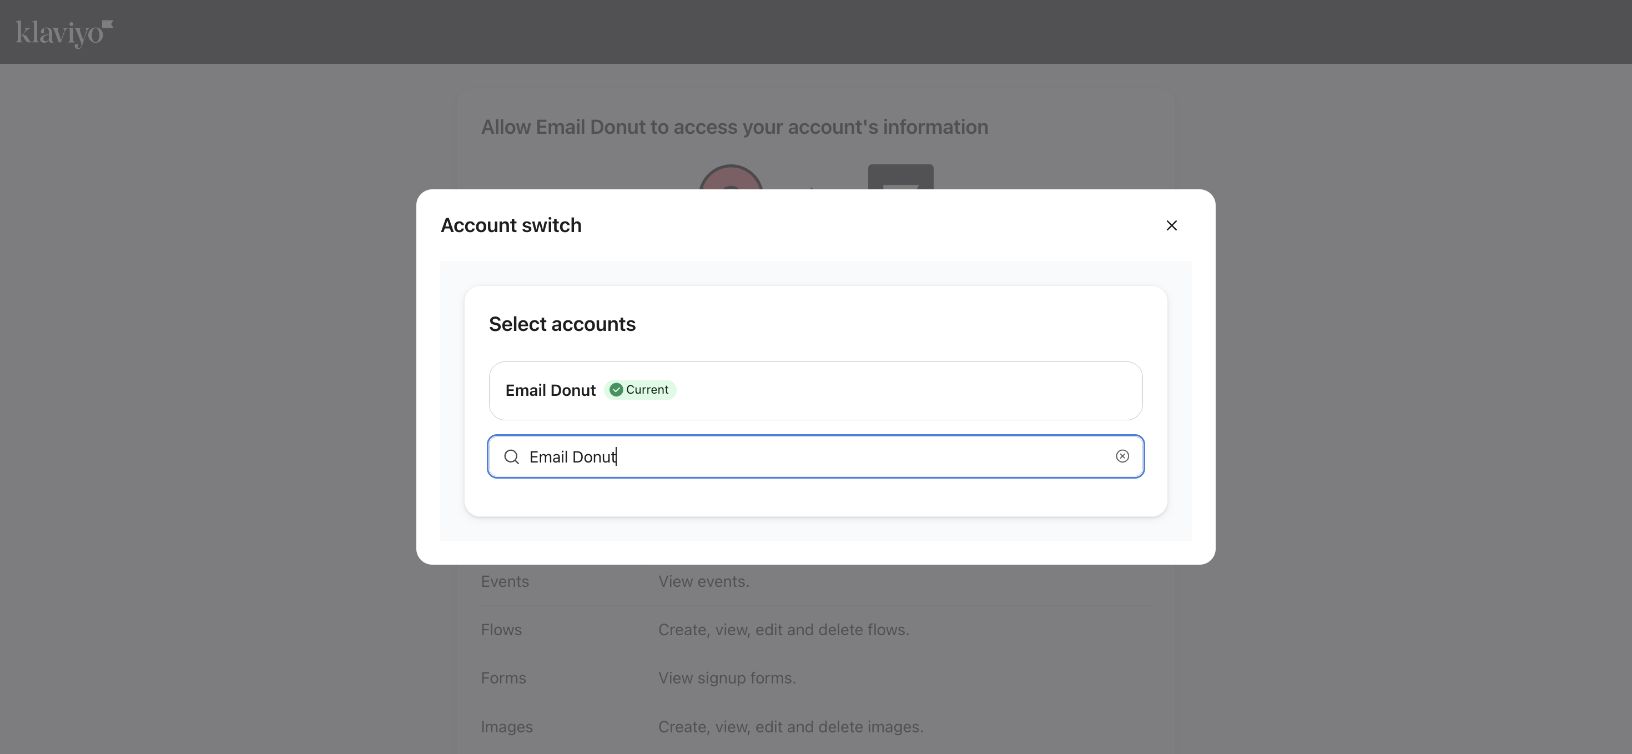
Selecting the wrong account attaches its campaign and event reporting to the wrong brand workspace. If you are unsure, exit the authorization and confirm the account names before continuing.
4. Review and allow access
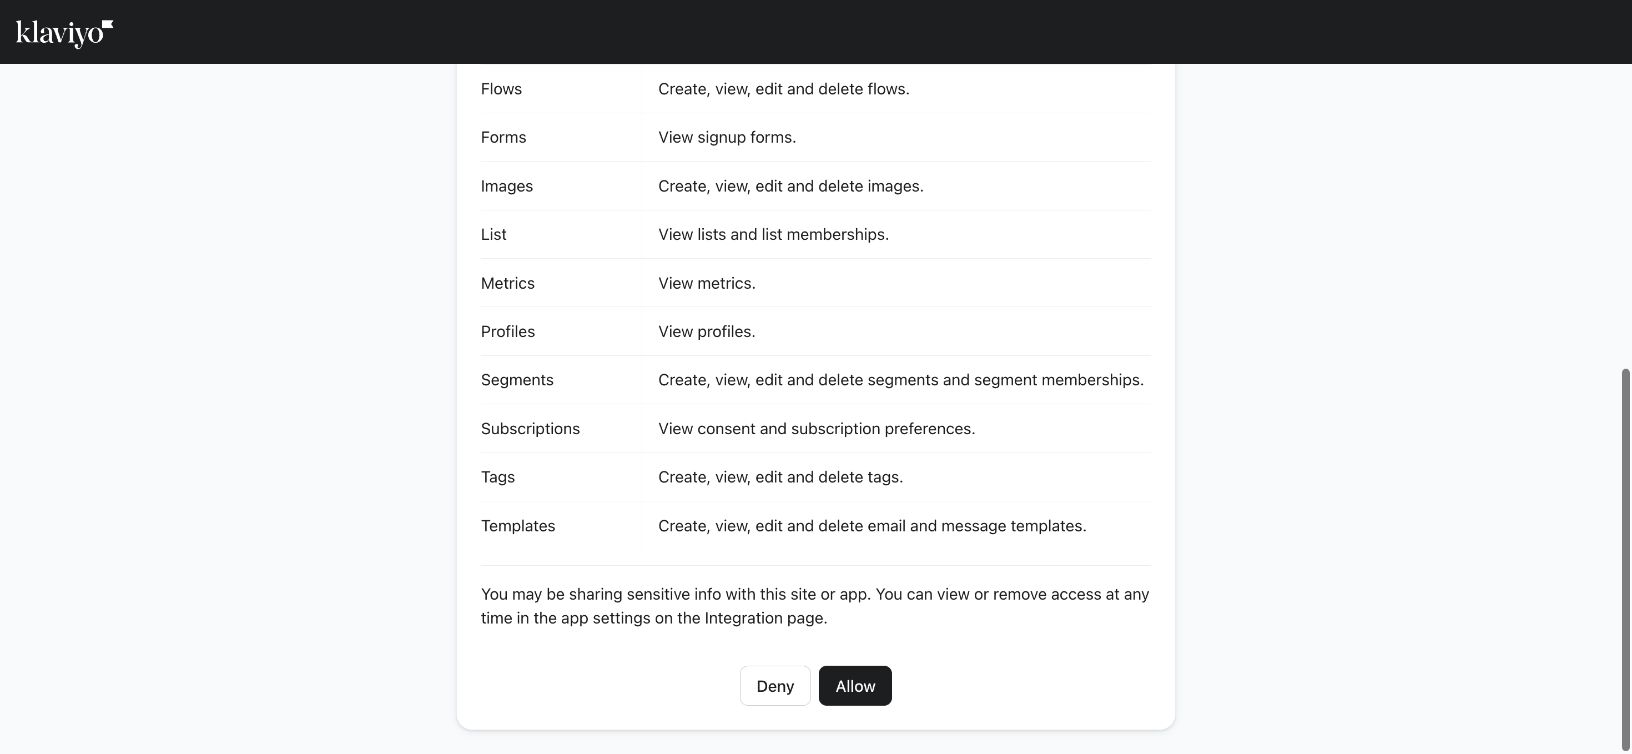
Klaviyo displays the categories of information Email Donut requests. Review the list before authorizing the app.
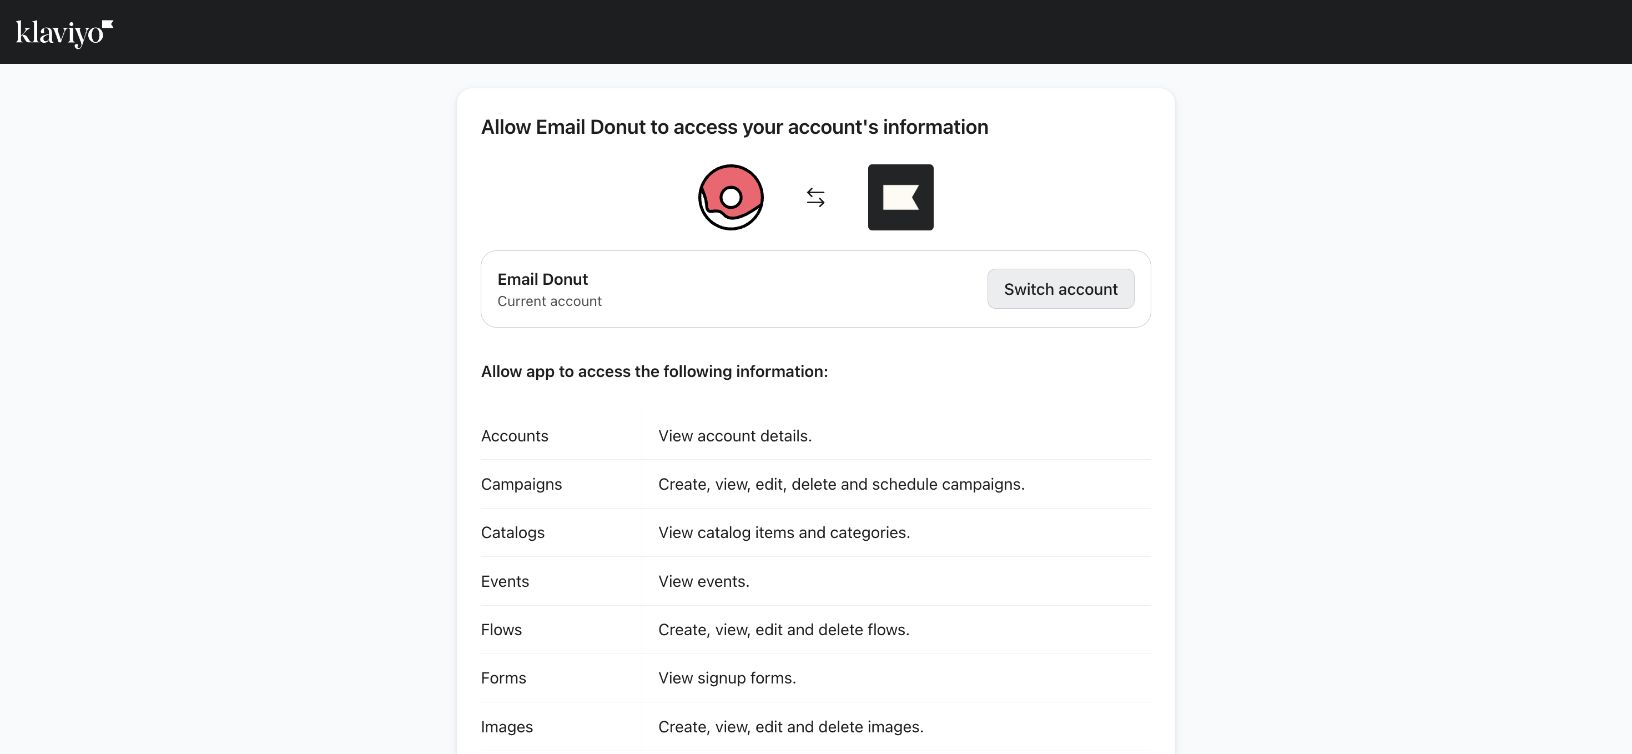
The current integration uses 20 purpose-limited permissions: 14 read permissions for reporting and brand context, and 6 write permissions for content creation, targeting, and scheduling. Email Donut does not request permission to change profiles, consent, privacy requests, tracking settings, coupons, or reviews.
Scroll to the end of the authorization screen and choose Allow. Choosing Deny cancels installation without connecting the account.
5. Finish setup in Email Donut
After authorization, Klaviyo returns to Email Donut. Email Donut exchanges the authorization code securely, confirms the account, detects available metrics, and starts the first campaign and event imports.
Open the connected brand's Settings, choose Klaviyo, and confirm that the status is Connected. Initial historical data can continue syncing in the background after the connection itself is ready.
6. Confirm or manage the installation in Klaviyo
Return to Klaviyo and open Integrations. Email Donut should appear under My apps with an Enabled status. Open Email Donut to return to its settings or remove the integration.
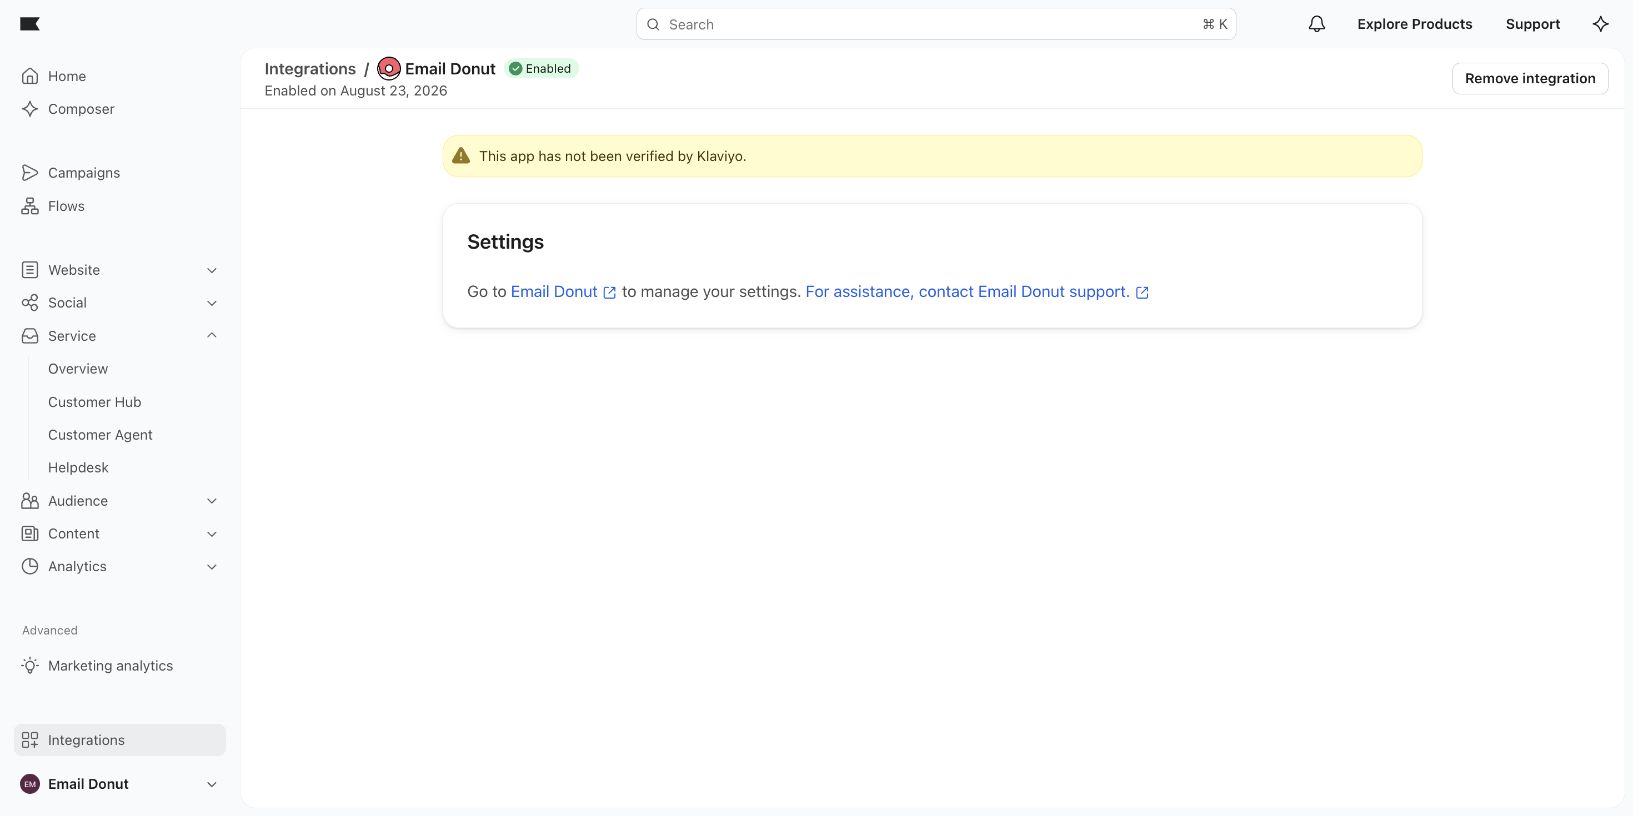
Removing the integration in Klaviyo revokes its access. To use Email Donut again, start a new connection and approve the current permissions.
Troubleshooting
- Email Donut is not in Explore apps: use the test installation link supplied during review, or wait until the public listing is available.
- The wrong Klaviyo account is shown: choose Switch account before allowing access.
- No Email Donut brand is available: return to Email Donut, create a brand, and restart the installation.
- The authorization returns an error: restart from Integrations or the brand's Klaviyo settings so Email Donut can create a fresh secure authorization request.
- Email Donut appears enabled but reports are empty: allow the initial data import to finish, then refresh the Email Campaigns report.